Our proven gas supply systems are right for you if you want to heat your vehicle safely when on the road or if you simply want more convenience at the camping site.
Caution: left-hand thread
Things new campers should know about the gas supply in caravans and motorcaravans
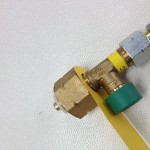
Connection screws to gas cylinders with flammable content always have left-hand threads. This different turning direction ensures that no mistakes can be made.
The left-hand thread screw connections, e.g. hex nuts, are always marked with a notch (see figure links). This is standardised and anchored in the DIN EN 15202 as follows for liquid gas cylinders: “The corners of the hex nuts with left-hand threads must bear a notch for better recognition (e.g. a 60°-V notch).“
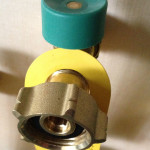
This picture shows one of the more rare left-hand thread wing nuts with notches.
In contrast, left-hand thread wing nuts do not always bear a notch, because this is not stipulated in the standard.
Well equipped for the first tour
How should I prepare the caravan for the travel season?
The following contains useful tips for restarting the heater, boiler etc. after the long winter break.
1. S-heater: (cleaning)
To do this, remove the cover from the heater.
Remove all dust deposits on the heat exchanger and base plate.
Use a small paint brush or brush to carefully remove any dust on the fan wheel of the Trumavent fan.
Also, check the exhaust cowl for damage and soiling (e.g. leafs).
1a. Battery in the automatic ignitor of the S-heater:
Insert battery – if you cannot hear a sparking sound, or only at intervals of more than one second, the battery needs to be replaced (only when the heater is switched off)
Only use temperature-proof (+70°C) leak-proof Mignon batteries, other batteries may cause malfunctions.
2. Storage Waterheater
Check the waterheater for leaks.
If there are any leaks, the inner tank can be replaced, either by our mobile service or an authorised Truma service partner.
Anyone who wants to tackle the replacement themselves, can do so by following instructions.
3. Controller system:
Connect the pressure controller, or high-pressure hoses to the gas cylinder.
Set the optionally installed gas remote switch to ON.
4. Mover:
Place the batteries into the remote control.
5. On-board battery:
Charge the battery. Please note that the battery is only fully charged after 24 hours.
During charging, please remember to adapt the charging voltage to the battery temperature.
Depending on the type, batteries will warm up more or less. Also, the direct ambient temperature of the battery has a significant influence on the performance.
If a battery temperature sensor is attached, it will record the operating temperature of the battery and will communicate this to the connected charger. The charger then changes the charging curve based on the sensor measurements.
This means, the higher the operating temperature, the lower the output voltage; and the lower the operating temperature, the higher the output voltage.
Note: The operating temperature range of our charging systems is 0°C to + 50°C.
If 50°C is exceeded, the charging process is interrupted.
Using a battery temperature sensor is not only beneficial for the battery, it also increases its service life.
Truma wishes you a pleasant summer season!
Installation of Truma Mover® – also in your vehicle
It is possible to fit the Truma Mover® into almost any vehicle. Depending on the specification there are accessories available to ensure that it can be fitted to all standards fames.
On a standard frame with an L-profile or U-profile, no further accessories are required if it is mounted in front of the axle. The universal attachment set contained in the delivery scope fits this frame.
If the unit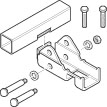 is attached behind the axles, the distance between the centre of the rollers and the tyres may be too large for assembly. The distance kit is used here to compensate the frame height.
If your vehicle has a standard flat frame, a BPW flat frame Vario III one-piece or a BPW flat frame Vario III two-piece, the unit can be fitted easily before or behind the axle. This is made possible thanks to the flat frame kit that is required to compensate the low frame height.
If you have an ALKO Vario III Chassis, the unit need to be fitted behind the axle. To reinforce the lightweight frame, you will need the Assembly Kit ALKO Vario III/AV as an accessory.
The Mover® is attached in front of the axle on the Eriba Touring because, if mounted behind the axle, the waste water pipe system needs to be moved. The Eriba Touring installation kit is required to supplement the rectangular profile.
Selecting the right air conditioning system
The Truma air conditioning systems are imperative to ensure you can enjoy a pleasant and relaxed trip. But what do you need to take into account when choosing a system?
When choosing the right air conditioning system for your recreational vehicle, you need to take into account your personal preferences and the specifications of the vehicle into account. If you have a long vehicle, it is worthwhile using two Truma air conditioning systems and opting for the comfort models of the Truma air conditioning systems; two of these systems have the benefit of an added heating function (Aventa comfort and Saphir comfort RC). This may be useful between the seasons. You also need to decide whether to opt for a rooftop model or a under-bench model. Rooftop air conditioning systems are installed in a flat, space-saving and aesthetic manner onto the roof from where the air is distributed inside the vehicle. In an under-bench system air is distributed flexibly by fitting cold
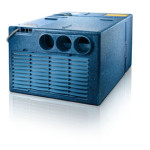 pipes. The centre of gravity of is placed on the floor of the recreational vehicle. Think about the fuses in place at the camping sites you visit. Do you travel to areas with low fuses, or is economic use of power important to you? In this case, you could opt for the eco or compact models. All Truma air conditioning systems are compressor systems that both cool and dehumidify the air to create a pleasant room climate.
You should also consider your personal cooling and travel preferences. If you like travelling to the Mediterranean where the air humidity is higher, your cooling requirements will also be higher. If you cook or shower frequently in the vehicle, this will also raise the air humidity. A family vehicle with several passengers heats up more quickly. If you want to cool the entire vehicle, you will need more energy than if you only cool the bedrooms.
Stay cool – tips for your air conditioning system
Make the most of your Truma air conditioning system with these few simple tips!
1) Vent your recreational vehicle before switching on the air conditioning system to guarantee fast cooling.
2) Close all windows and doors during operation.
3) Park your vehicle in the shade if possible.
4) Additional insulation, e.g. windows films or protective films prevent the vehicle from heating up.
5) If possible, cover any skylights and windows from outside, as these only cause the temperature inside the vehicle to increase.
6) Clean your roof regularly, because a clean roof does not heat up as quickly.
7) Ensure that there is enough air circulation below the vehicle by means of sufficient openings to prevent air build-up, e.g. attachment of skirt boards.
8) Do not select an inside temperature that differs too greatly from the outside temperature as this strains the body. The cleaning and dehumidification of the air generates a pleasant room climate even when the temperature difference is low.
9) Replace the air filter of your Aventa every year. If you have a Saphir, replace the particle filter once a year and clean the fluff 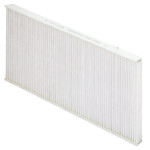 filter twice a year or as necessary. Thanks to the closed cooling circuit, the Truma air conditioning systems are practically maintenance-free, e.g. no coolant needs to be refilled or replaced.
Reliable operation of the Truma S-heater
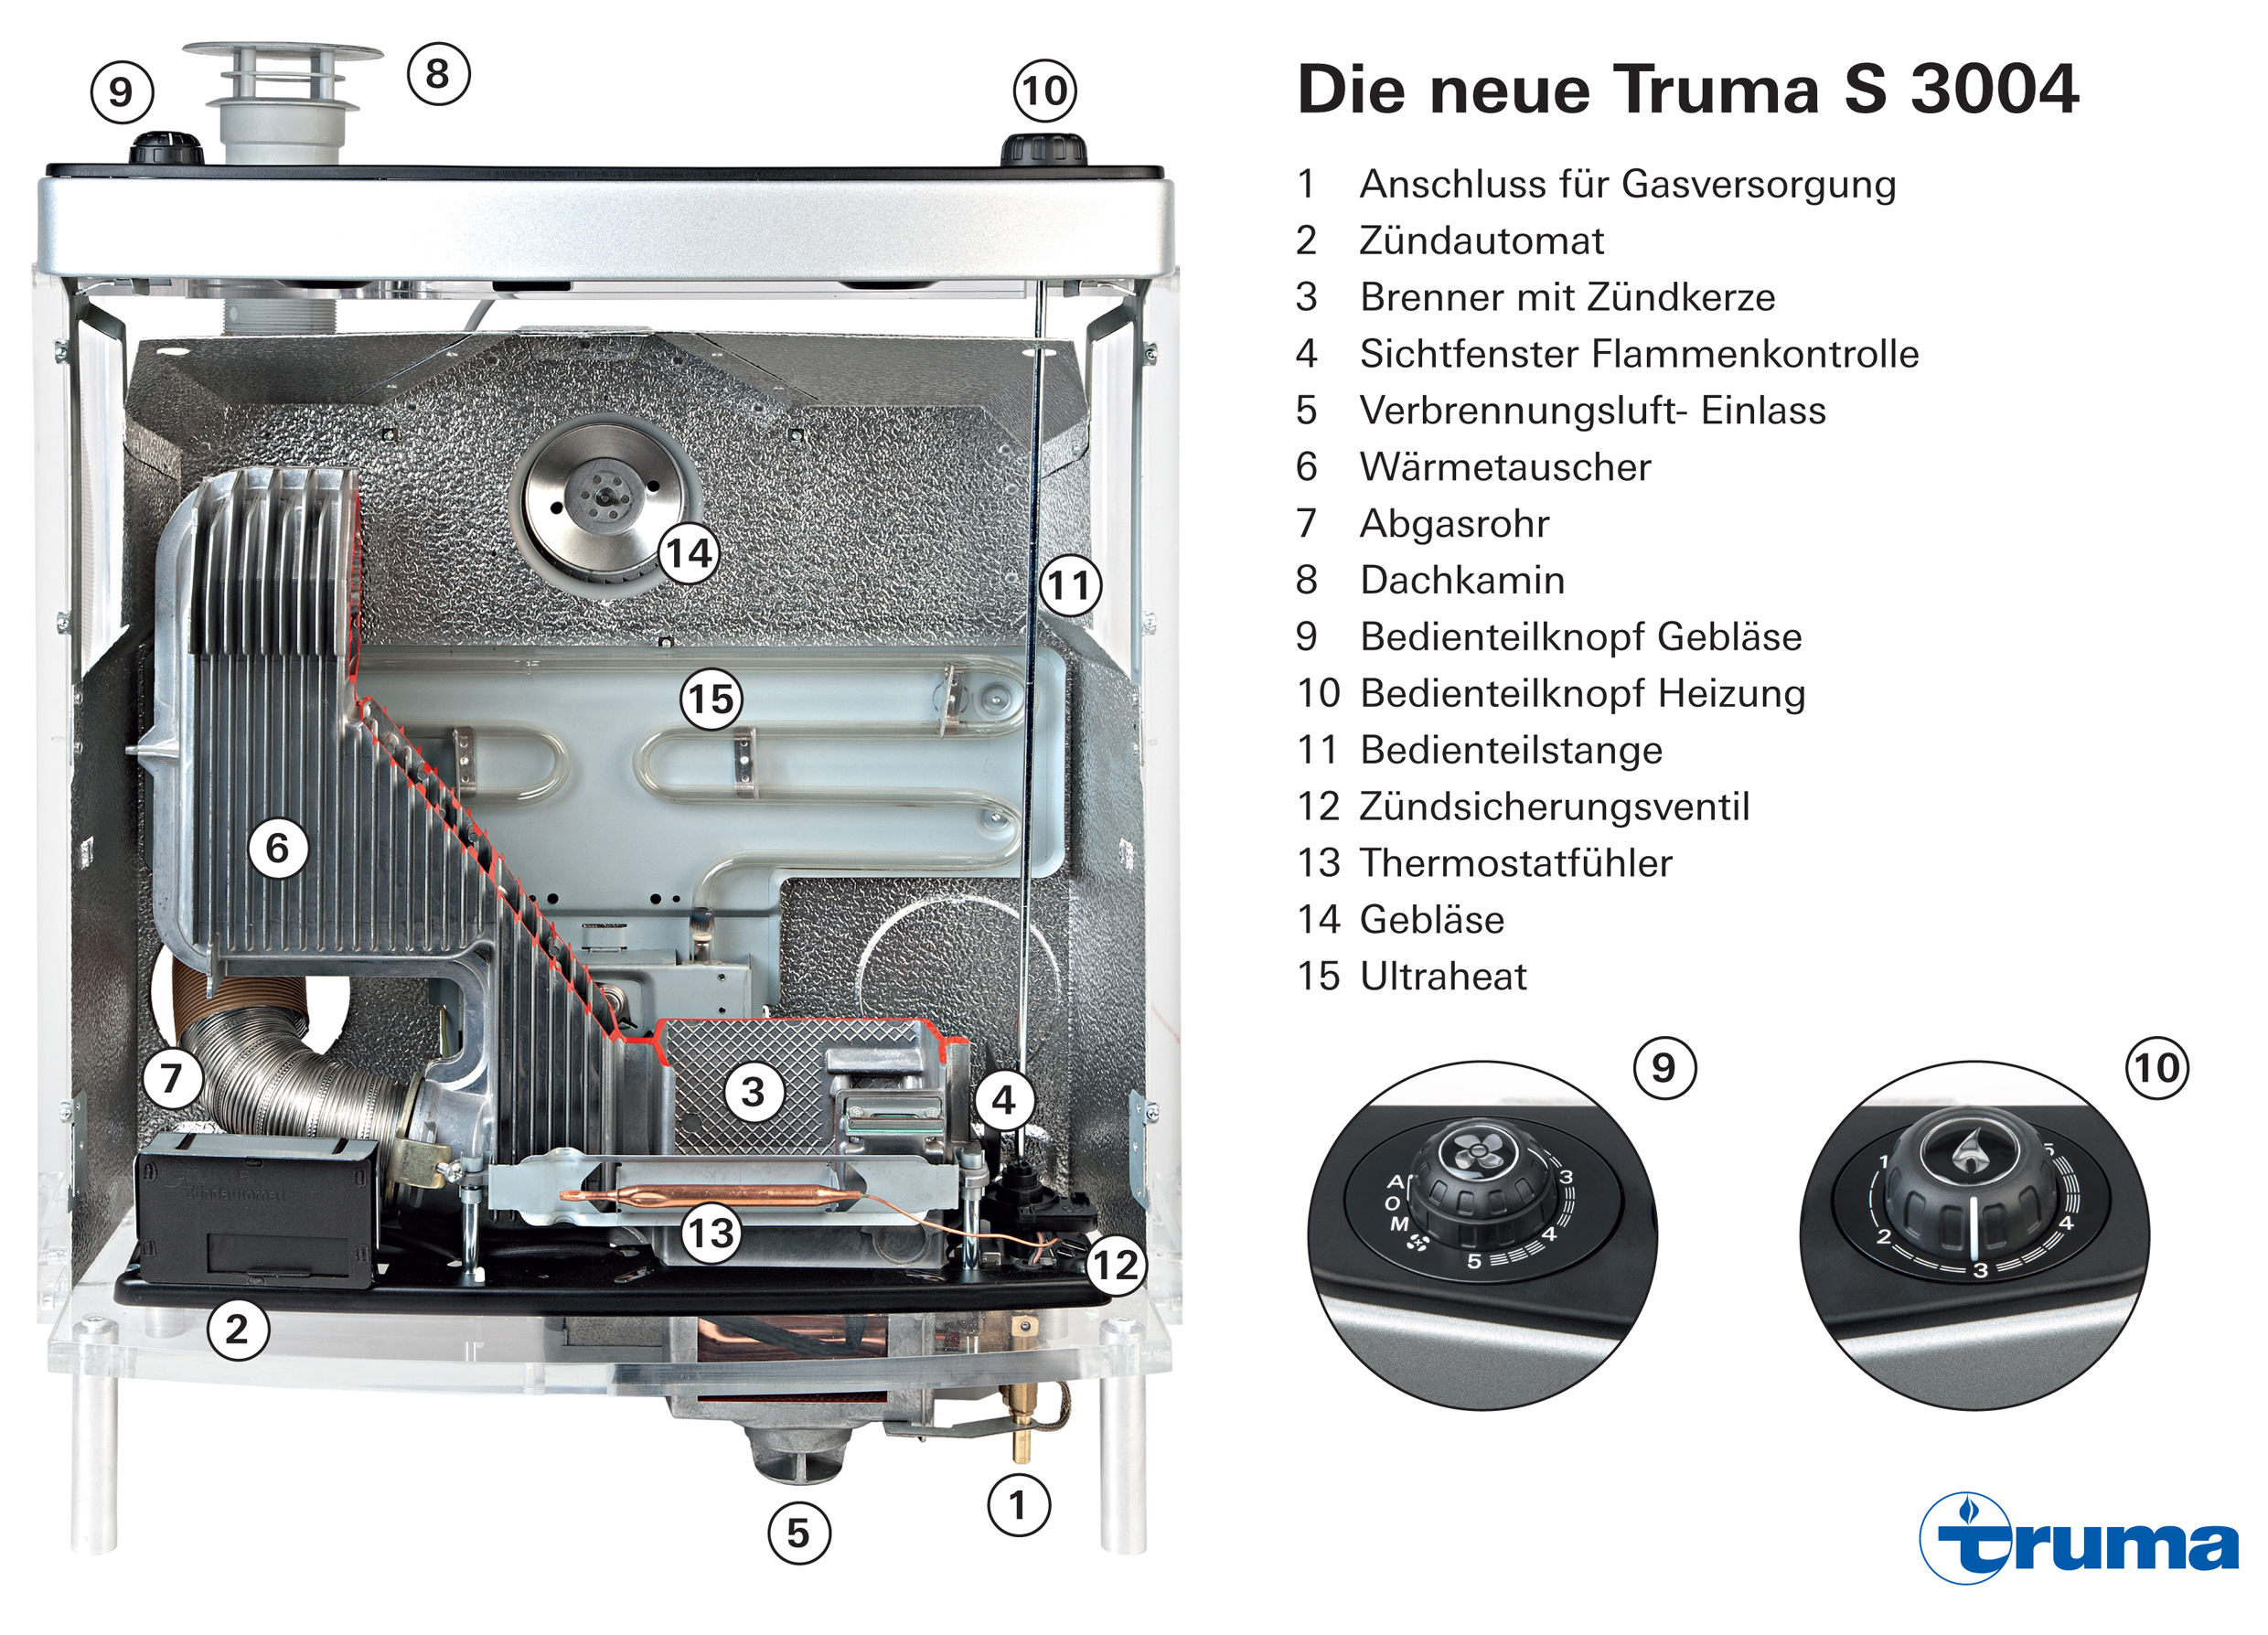
The heater is supplied with gas via a special connection (1). This is either ignited via a battery-operated auto ignition kit (2) or mechanically at the push of the button via the Piezo ignitor in the burner (3). Via the Mica window (4) it is possible to check whether the gas has ignited. External air is sucked into the heater via an inlet (5) and heated via the open flame in the burner (3). The hot air flows through the S-shaped heat exchanger (6) and escapes into the atmosphere together with the exhaust combustion gases via the exhaust pipe (7) and the roof cowl (8). Thanks to the thermo-electrical safety pilot and the fact that the system is completely closed, this process is 100% safe. The heat exchanger (6) heats the direct ambient air in the heater casing. It escapes into the living space through the lamellae of the covers and is distributed within the caravan via the fan (14) as required.
The temperature of the heater can be set steplessly and manually via the control panel knob (9), which activates the safety pilot valve (12) via the control panel rod (11). Once the required room temperature has been reached, a thermostat sensor (13) controls the gas supply to the burner and weakens it accordingly. The fan is controlled via a second control knob (10).
The electrical ancillary heater Ultraheat (15) is an ideal extra for all those who want to use additional electrical heating to heat up their vehicle very quickly independently of the gas system. It heats very quickly and uses the fan of the S-heater to distribute the warm air efficiently in the caravan.
Optimum power supply for the Truma Mover®
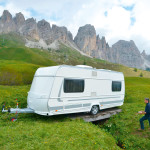 To ensure that the Mover® is ready for use at all times, a reliable power supply must be guaranteed, preferably the AGM batteries with round cell technology. If the Truma Mover® PowerSet is used, the operating time can be extended by up to 50%. It is made of high-quality components which are perfectly matched to the Truma Mover (charger, battery OPTIMA® YT S 2.7 (38 Ah), battery cut-out, temperature sensor and cable set). The drive and lighting batteries are also suitable for the Mover®, e.g. gel batteries or AGM-batteries with round cell technology.
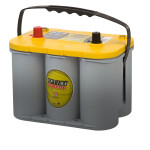
Tipp: If the caravan is not used for a longer period of time, you should always disconnect the connection to the battery via the cut-out as otherwise the battery will deep discharge and suffer damage. In the new Mover® XT the main control system switches off automatically after an hour of non-use.
To store your batteries carefully over the winter it makes sense to remove the battery from the vehicle and place it in a dry and cool place. The battery should always be stored when fully charged and should be recharged every two months (24 hours). For more information about handling batteries correctly, please see the section on tips and tricks.
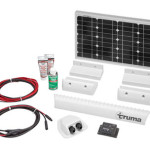
Tipp: The Truma SolarSet 23 protects the battery against deep discharging.
Functional principle of the motorcaravan heater Truma Combi
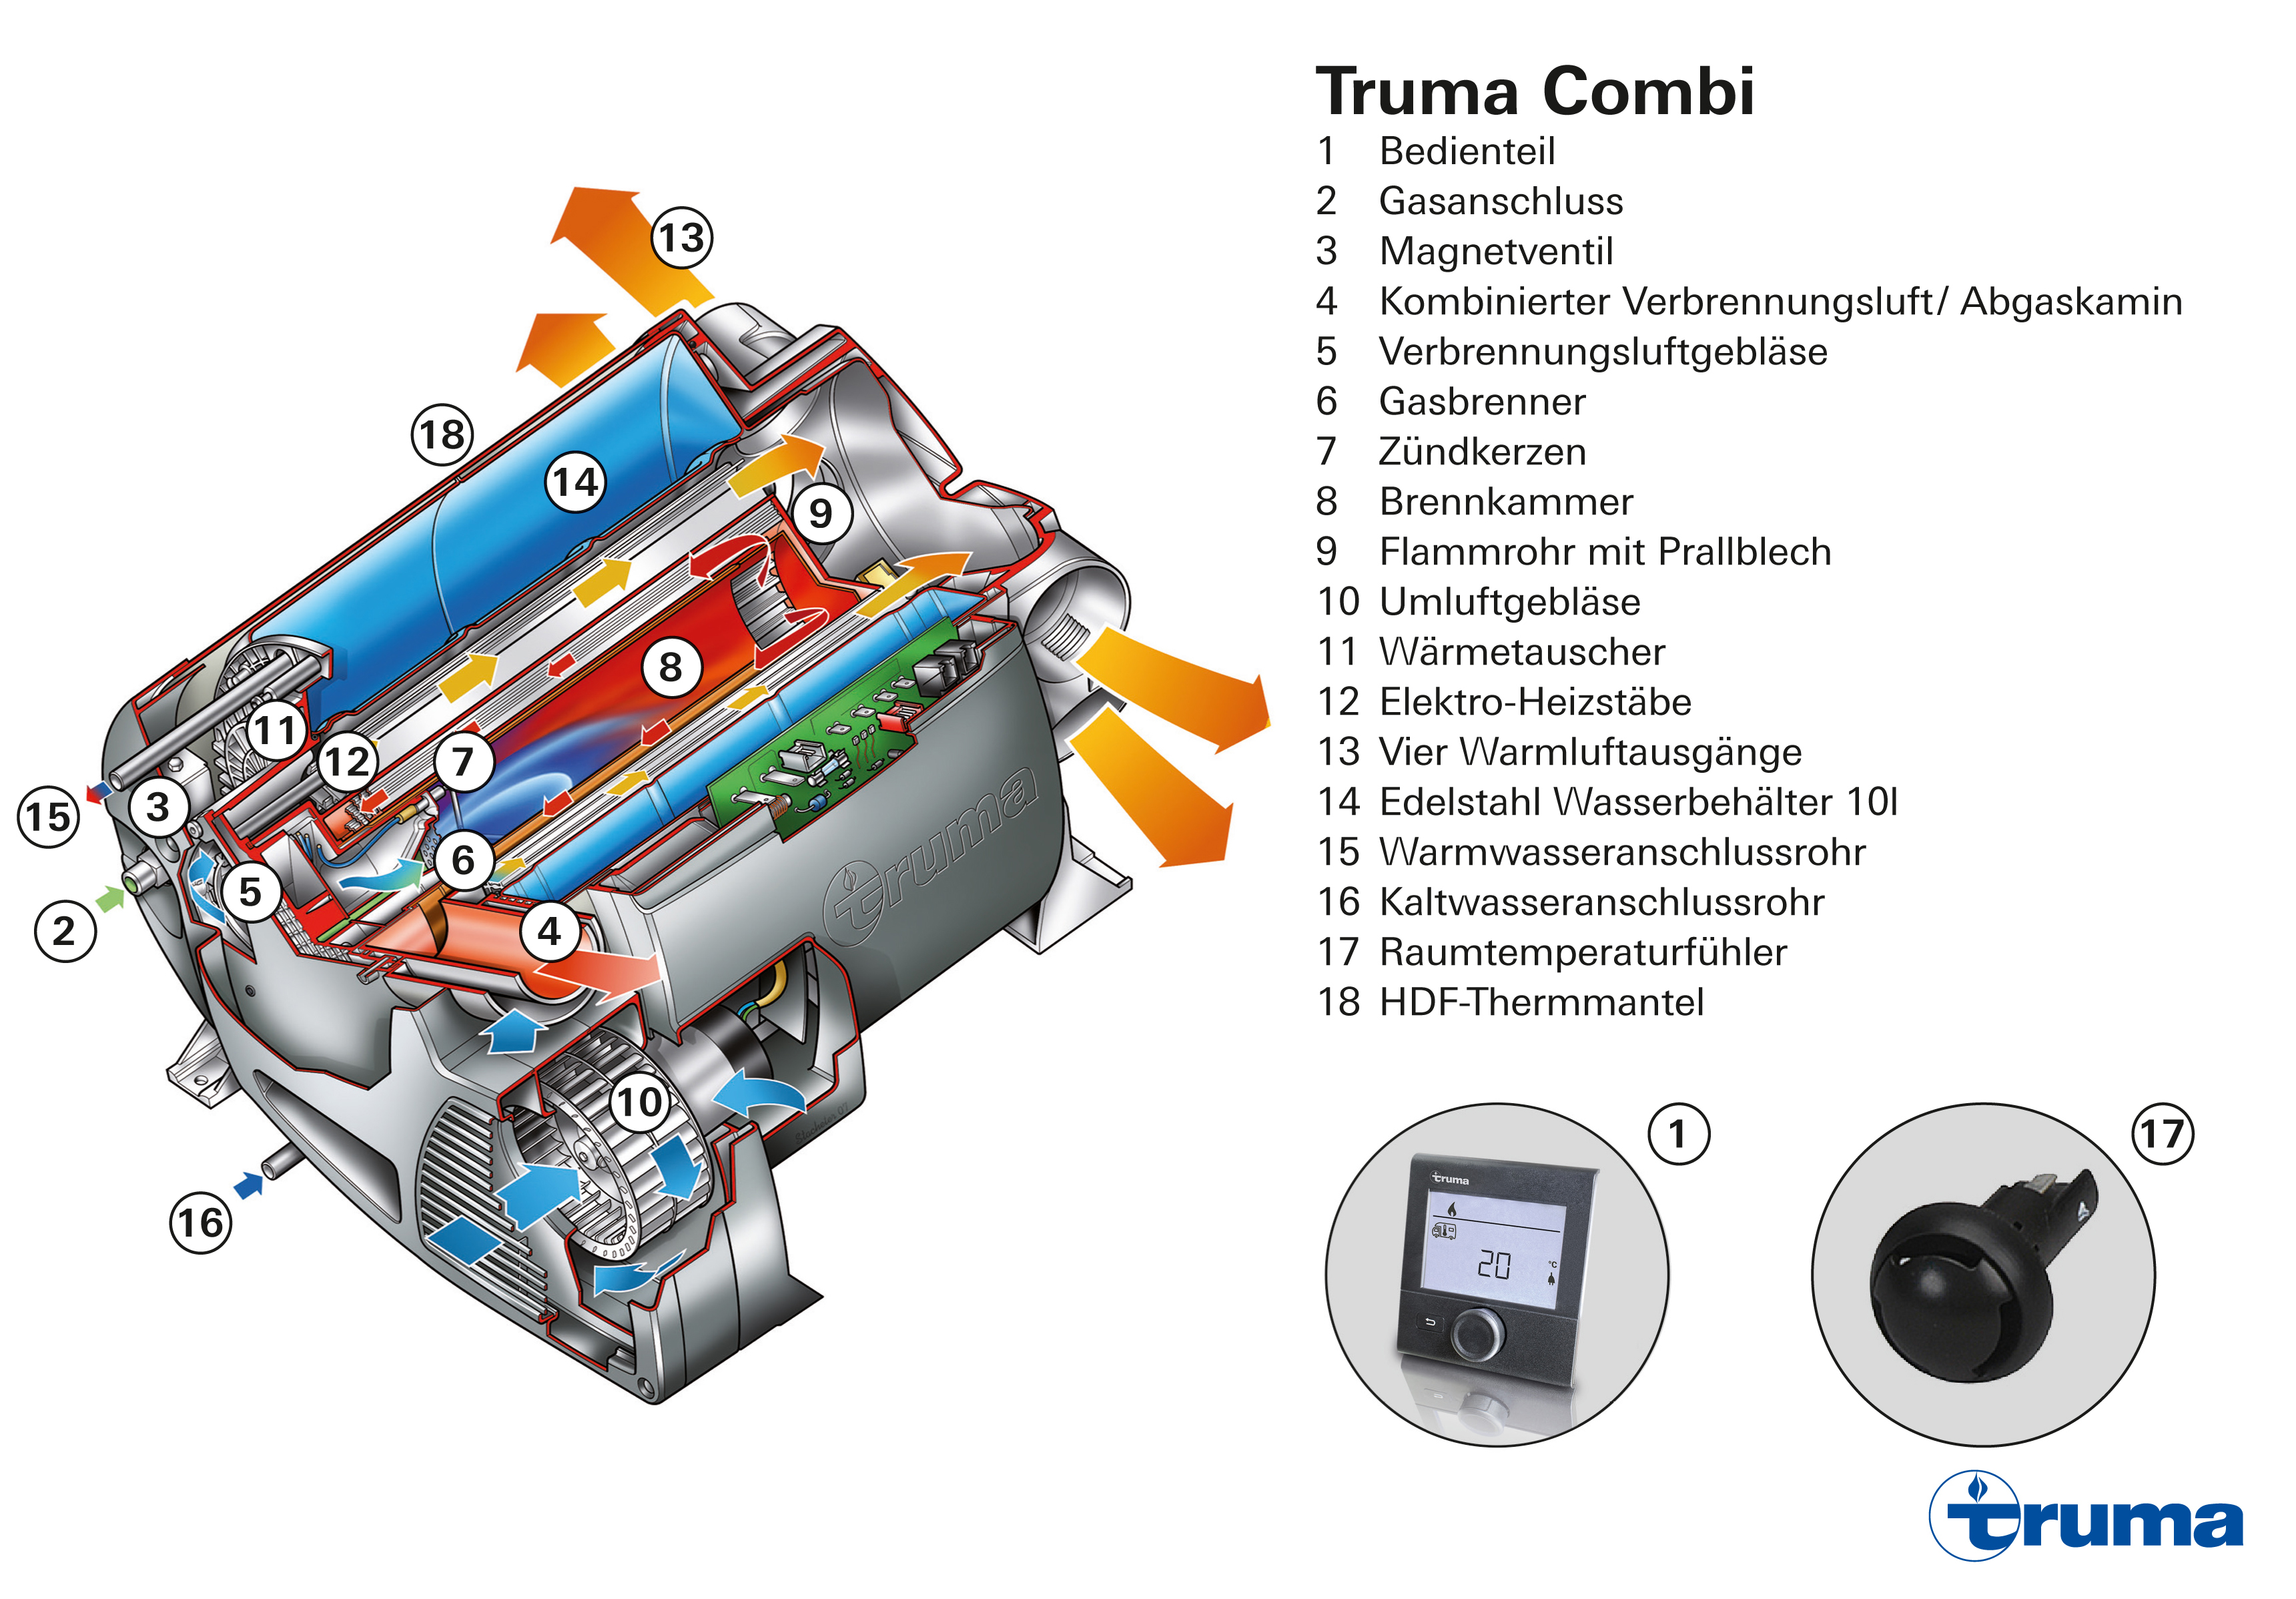
The heater is started on the Truma Combi LCD control panel (1) and the required temperature for the heater and warm water is set. The heater is connected to the vehicle’s gas supply via the gas connection (2). The gas supply to the heater is controlled via the solenoid valve (3). The required combustion air enters the device via the external pipe of the combined combustion air/exhaust gas cowl (4) where it is transported to the gas burner (6) via the combustion air burner (5). The gas burner, which is equipped with two igniter plugs (7) and a flame rectification electrode, ignites the gas-air mix in the combustion chamber (8).
The hot exhaust gases are deflected at the end of the combustion chamber on the baffle plate of the flame tube (9) and flow back between the flame tube of the burner and the inner wall of the heat exchanger. They escape into the atmosphere via the exhaust gas cowl (4).
The circulating air fan (10) sends the air that is to be heated into the inside of the device. This air flows along the ribs of the heat exchanger (11) that, thanks to its large transfer surface, ensures optimum heat transfer. There are also additional electrical heating rods (12) with 1,800 Watt inside the heat exchanger that can be used to either heat the water and/or warm air. Then the warm air is distributed throughout the vehicle via four warm air outlets (13).
The fresh water is kept in the outer stainless steel water tank that has a volume of 10 litres (14). It is heated from here via the transfer of heat from the heat exchanger (11). Thanks to the eccentric shape of the water tank, the warm water is circulated ensuring an optimum mix and better temperature layering. The warm water connection pipe (15) connects the Truma Combi to the warm water pipes in the kitchen and bathroom. Cold water is pumped from the fresh water tank via the cold water connection pipe (16).
The room temperature sensor (17) fitted in the vehicle measures the air temperature in the vehicle. Also, the water temperature is measured using the internal temperature sensor. Before the required heater and water temperature is reached, the device reduces the heating output. Once the set temperature has been reached, the burner shuts down. If the set heater and water temperatures are undercut, the Truma Combi automatically restarts to heat up the air and water (winter mode). In summer mode, the warm water heater can be operated separately from the heater. The HDF thermal sleeve (18) ensures good insulation of the Truma Combi-heater.
Mover® XT – Useful tips for remote control and disconnection of control unit
The remote control should always be switched off, using the slide switch at the side after operation in order to minimize battery power consumption.
The remote control performs a self-test after switching on. It is important that neither the rotary switch, the slide switch nor a pushbutton is pressed when this occurs, since zero calibration can otherwise not take place. (Switch off the remote control, discard and wait briefly until the self-test is carried out)
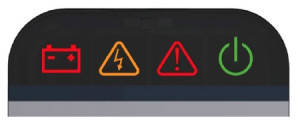
If the remote control is not used for longer than 1 minute, the green symbol for switch on in online condition, which flashes four times and comes along with an acoustic sígnal, disappears. To activate the system, switch the remote control off and on again.
Here one more tip in case the system shuts down:
If the systen is not used for longer than an hour a disconnection of the control unit takes place. (Economy measure) The system has to be made electro less to activate it again. (By using the circuit breaker or disconnect the positive pole of the batterie).


